How do you organize your drawings?
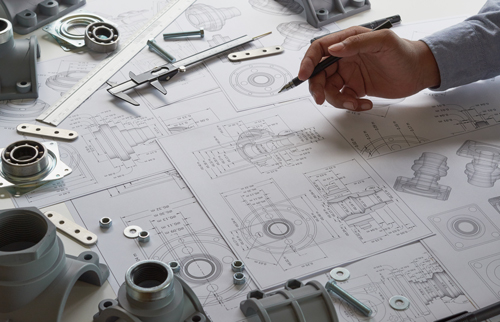
Organization is key when understanding and creating drawings. Engineers rely heavily on organization and cleanliness so that their 2D geometry can be understood and replicated in our own 3D world. This is achieved by the use of different drawing views, callouts, and specific information entered into the title block and on the drawing itself. Ensuring that the drawing is fully defined, while keeping it as simple to read and understand as possible. This is the goal of the engineer.
Each of the parts produced at China Machining Services, and around the world, began with 2D geometry on an engineering drawing. It’s important that this information be correctly relayed to the machinist, so that the geometry, finish or other special treatment of the product meets the specifications. Without organization, information could be incorrectly deciphered. So engineers like to keep drawings clean and well organized. “A place for everything and everything in its place”.
Engineers keep their drawings clean and well organized by using different tools. Title blocks are located in the bottom right corner of the drawing. It contains most of the basic information for the part, including revisions, treatment, proprietary or export control statements, and information on the business and designers. Notes sections are usually called out and offset from the title block to emphasize any important information. Engineers typically like to keep their dimensioning offset from the part as well to avoid overlapping other dimension lines and callouts. Engineers use the fewest amount of views and dimensions necessary to fully define the product. This leaves the drawing more open and legible and still defines all details. Sectioning is the use of a split view of the area in a product to dimension a feature. This is usually labeled as well and is typically located directly under the view that has been sectioned.
Specification blocks are usually located at the top or (floating) in a blank spot on the drawing. It contains information on various versions of the product, which are usually described as -1, -2, etc. Assembly drawings can include most of these things as well. They will also contain a block diagram specifically for calling out each part in the assembly, identified by its item number. These item numbers show up as balloons on the assembly drawing. This is all done to ensure that the product is made to specification.
Fully defining the geometry of the product as well as post machining processes and specifications are very important. This is why engineers organize and define all information possible. Using tools and organization skills to successfully relay information to machinists, businesses and representatives. In order to successfully translate the 2D geometry, and create the product to specification.


About: Stephanie
Design Engineer
Stephanie’s journey to design engineering began as a teenager. She loved to build and design, so she took drafting and design classes all through high school. Stephanie then moved on to graduate with a machine tool technology degree, becoming a certified machinist. She trained one-on-one for three years under a well known nuclear and mechanical engineer in design, mechanics, reverse engineering coding and more! Today, Stephanie is on the design engineer team for China Machining Services to review 2D drawings, 3D files, and generate quotes for their customers.

Recent Comments